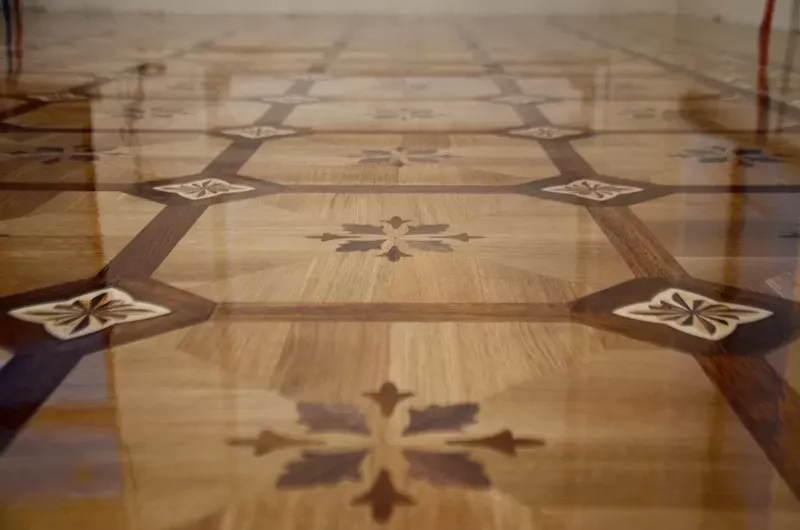
Parquet Sanding
Parquet maintenance is essential, both to preserve its visual appeal and to prevent costly damage that can occur otherwise. Never neglect the upkeep of your home and the comfort it provides. Ensure your entire property is well maintained so you can relax in a harmonious and serene space.
Parquet sanding does not depend on the type of wood or the essence of the boards; it is a process that can be performed on any floor. However, specialists recommend sanding only for solid wood parquet and layered parquet (double, triple, etc.).
- What type of parquet can be sanded?
- What are the stages of parquet sanding?
- Initial cleaning – checking the quality of wood and boards
- Parquet sanding
- Repairing major defects
- Intermediate cleaning after old parquet sanding
- Priming – What is it? How and why is it done?
- Parquet varnishing
- Initial cleaning – checking the quality of wood and boards
- Parquet sanding
- Repairing major defects
- Intermediate cleaning after old parquet sanding
- Priming – What is it? How and why is it done?
- Parquet varnishing
- How to properly maintain parquet?
1. What type of parquet can be sanded?
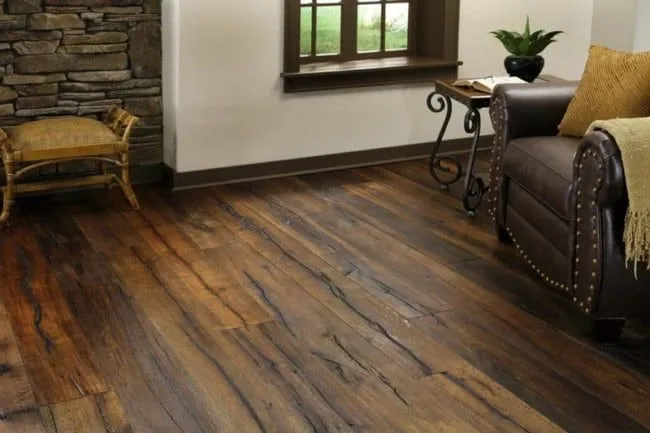
Not only old or very old parquet can be sanded; the entire floor reconditioning process can be done even for parquet boards installed just a few years ago. However, it is not ideal to sand too frequently or when it is not necessary, as this can significantly reduce the floor's durability in a very short time, as it is a radical and aggressive action on the wood.
Parquet sanding is a stage in floor reconditioning, and it is especially necessary for old parquet and floors with damaged surfaces:
- Scratches;
- Cracks;
- Minor impacts;
- Defects;
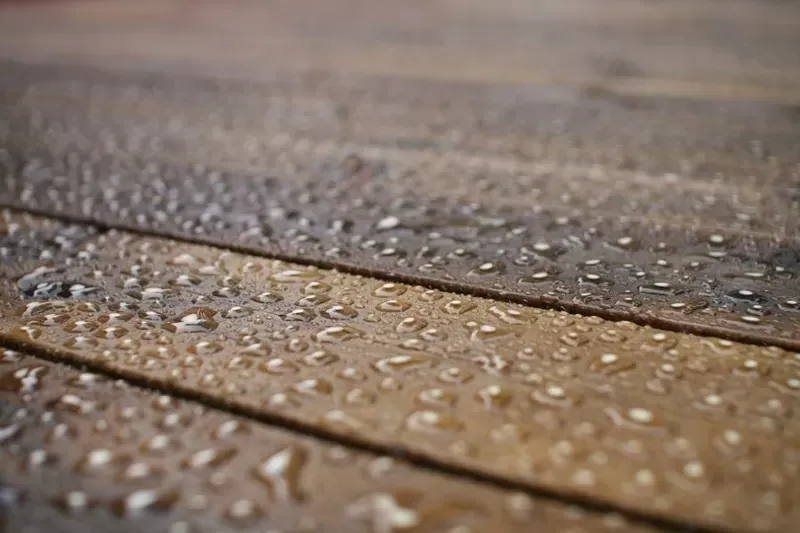
- Color stains – darkening (from moisture);
- Paint or varnish peeling in places.
Parquet sanding involves removing not only the varnish from the wood boards but also the top layer, which is why it is recommended only for layered parquet and solid wood parquet (to avoid significantly reducing floor durability). At the same time, this process should not be repeated too often, only when such aggressive intervention is absolutely necessary, when the wood has been affected and its appearance is severely compromised.

A. Initial Cleaning - Checking the Quality of Wood and Boards
Before starting the reconditioning process, the work surface must be inspected to identify any issues, with focus on addressing them.
Next, to complete this first step, the parquet must be properly cleaned to remove any impurities from the surface. It is recommended to use a vacuum and a fine, damp cloth.
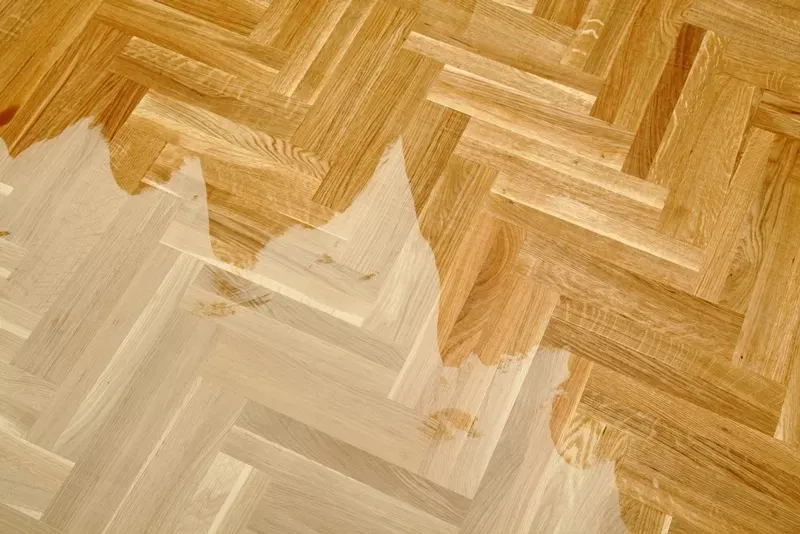
B. Parquet Sanding
C. Repairing Major Defects
For professional work, a specialized sanding machine is used, which greatly helps both in saving time allocated to this project and in managing the cleaning effort afterward. If you do not plan to perform such aggressive floor maintenance constantly or on very large surfaces, you can always rent this equipment from a specialized company.
Parquet sanding must be done uniformly; you should not stay in one spot. Do not try to eliminate deep indentations, which can be repaired by other methods, as the indentations you create will be harder to fix. The top layer of wood should remain after sanding as level and even as possible.
If you want your work to be similar to that done by top professionals, be careful when renting the specialized machine to ensure it can be used in harder-to-reach areas. These areas include the space under baseboards. If you want such meticulous work, they should be removed before starting sanding, with the machine doing uniform leveling without skipping any corners.
Although there are exceptional cases where sanding paper with a grit of 20 or 36 is used on sanding machines, the ideal is 80, especially for solid wood parquet that is very old and "affected" by time (neglected). If paper with very coarse grit is used (to level the floor), finer paper is subsequently used (manually).
The next step in the parquet reconditioning process is identifying major defects that remain, including:
- Rotted wood;
- Parquet boards infested with woodworms;
- Areas where boards shift;
- Impacts that remained (being too deep in the wood structure).
Small holes are repaired very easily using special wood filler. Remember that you need to use more filler than it appears necessary, as it shrinks considerably during drying. Subsequently, any excess filler is removed (if needed) by manual sanding with a fine abrasive surface. If you want to repaint the parquet boards, you must check if there is a filler in the shade you will have, or if not, paint the wood first and then correct the defects with the matching colored filler.
Prepare the wood for finishing (priming and varnishing) by sanding the parquet surface with special abrasive paper, ensuring the grit is approximately 150–180, and the work can be done manually or with a special machine with a rotating head. The entire process is carried out similar to the "bare wood" preparation of furniture pieces. This step is very important because the wood fiber raised after coarse-grit sanding must be properly removed. Otherwise, if this stage is not properly executed, impurities and debris will stick in the primer, loading it heavily, making it very hard and rigid after drying. All of this will make it very difficult to remove at the next reconditioning. Additionally, the final result will be parquet that does not have a perfectly uniform surface (it will have small impurities attached to the finish structure), which will scratch and snag.
D. Intermediate Cleaning After Old Parquet Sanding
E. Priming - What is it? How and why is it done?
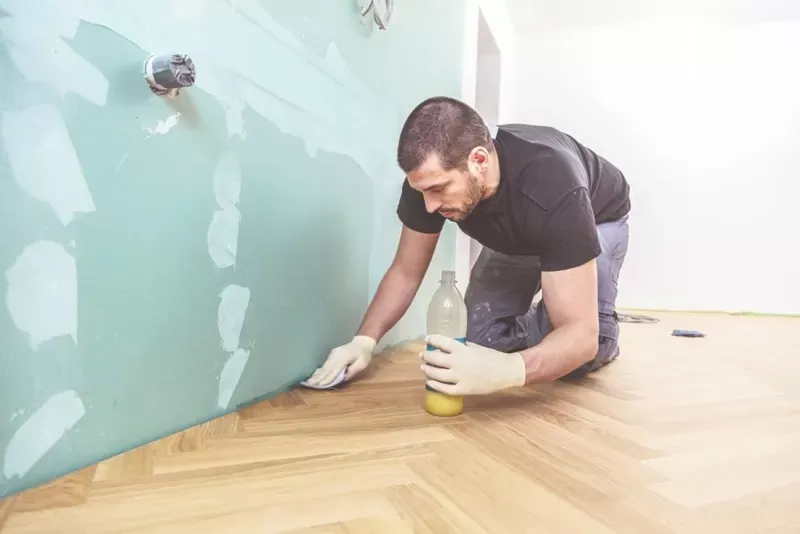
Cleaning of impurities is essential because it will help create a perfectly uniform surface and ensure the adhesion of the finish. Dust particles are often "hidden" in corners, and the entire floor must be vacuumed and wiped (with a damp cloth only, NOT wet), with special attention to the amount of moisture remaining on the wood. Finishing will begin when the parquet boards are completely dry and perfectly clean.
Although most people know about the usefulness of primer only in the case of metal surfaces and bodies, a special formula of this material is also recommended for wood, offering a much better base and support for subsequent layers that will anchor even on the wood. Primer must be prepared according to the manufacturer's instructions, information found on the packaging.
Being an important step in the parquet reconditioning finishing stage, it plays an important role not only in protecting the wood and creating a suitable base for varnishing, but also regarding financial investment, as it is more advantageous to apply 2–3 coats of primer and one coat of varnish rather than vice versa.
The primer coat or coats are applied directly with a roller, brush, or squeegee, depending on what is easiest for you. Although solvent-based solutions are also durable, water-based ones are most recommended because they do not emit an annoying smell that can persist for a long time and are much more durable. Additionally, they do not require a special sponge roller (as solvent-based ones do).
Subsequently, after the surface has dried (from the first coat), the entire area is sanded with abrasive paper with a grit of approximately 280 or 320, or for parquet with a special shine, with a grit of at least 400. The floor is cleaned very thoroughly, wiped with a cloth to remove dust particles, before applying a second coat of primer or before applying varnish.
F. Painting and Varnishing Parquet
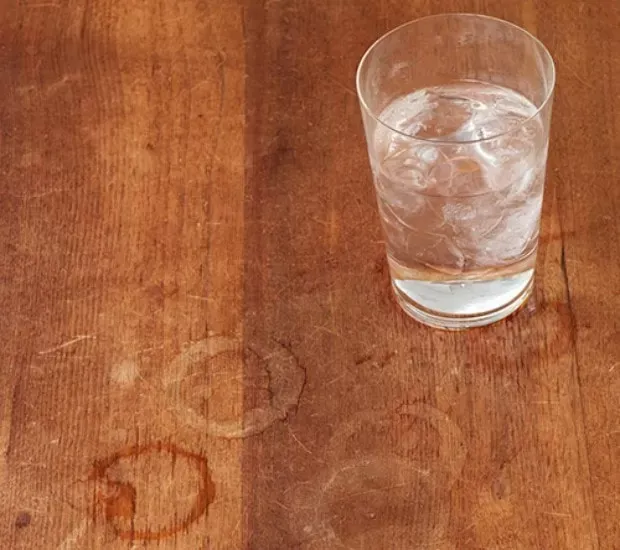
Varnishing is a very important stage because it helps maintain the appearance and protects the wood from a wide range of factors. Although primer appears to be sufficient protection and offers a very pleasant uniform appearance, it cannot properly protect parquet from external and thermal factors, as it does not have very high surface properties. Thus, its layers alone will not be able to shield the wood from extreme temperatures (hot beverages), from damage caused by scratches or impacts, or from swelling due to increased moisture.
It is mandatory that before applying the varnish coat, the surface is properly cleaned so it has a suitable base. The application method for this finishing coat is similar to that of primer, with the exception of the final sanding stage.
An alternative to varnish is wax, but it is not a very common choice because it requires special care and the entire process must be repeated annually. Additionally, with this finish, there is a risk of stains appearing, especially if a stronger alcohol is accidentally spilled on it, such as nail polish remover or, for example, spirits.

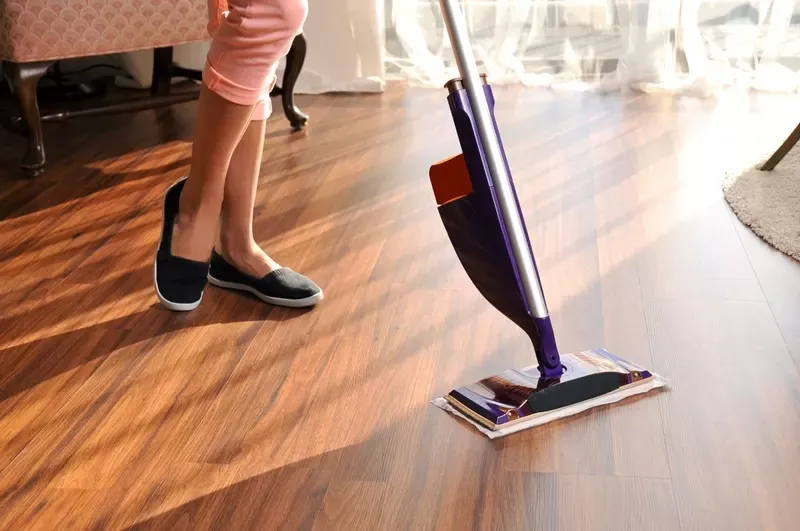
3. How to properly maintain parquet?
Take care of the parquet in your property by using high-quality products so that its appearance and durability are preserved for an extended period of time!