Recommendations for Parquet Floor Reconditioning
Generally, parquet reconditioning should be performed by professionals, especially if you lack passion for finishing work and don't have extensive expertise in this field. However, if you meet these two criteria, you will find the information you need in the following article to bring your parquet floor back to life!
- Parquet reconditioning – Engineered parquet flooring
- When should you recondition old parquet?
- Steps for reconditioning engineered parquet – What steps should you follow?
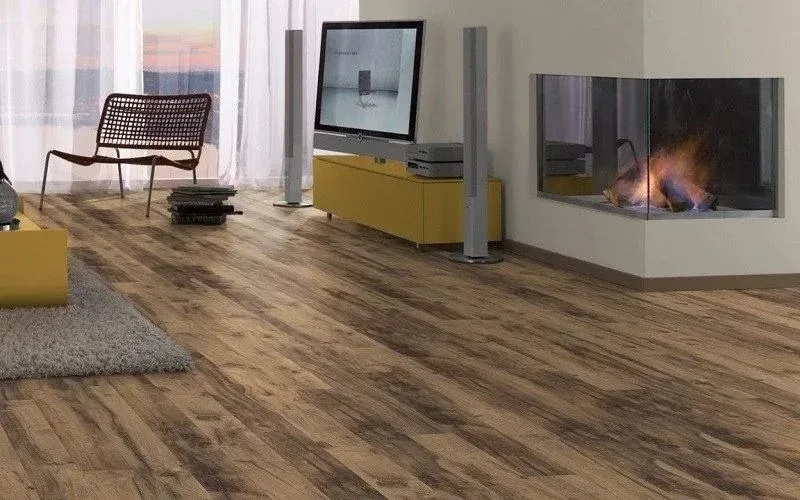
1. Parquet Reconditioning - Engineered Parquet Flooring
Repairing parquet and renewing its appearance offer clear advantages, many of which relate to financial savings. Moreover, in most cases, you do not need to completely replace the flooring to restore its original appearance.
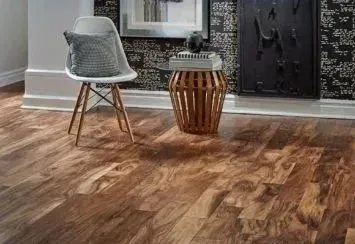
However, there are few types of parquet that can withstand reconditioning, and engineered parquet is among them. It may be considered somewhat more demanding, but with great care, you can restore it to look like new again.
What you should know is that engineered parquet comes in two types: double-layer and triple-layer. The thickness of the veneer (wear layer) glued to the plywood or MDF base indicates how many times the floor can be refinished. In the first case, reconditioning can be done once, to ensure the floor doesn't undergo changes that would render it unusable, while in the second case, refinishing can occur even two or three times.

2. When Should You Recondition Old Parquet?
The operations involved in reconditioning are quite radical, so the timing for this process must be chosen with great care.
Normally, the floor will develop defects and show signs of wear even with careful use. Not every minor defect warrants action. Rather, consider a complete reconditioning when dealing with:
Water infiltration
Flooding that reaches the wood layer
Deep scratches
Wood oxidation
Notable color fading of the floor
Stains from corrosive substances
Therefore, any defect affecting the wood in depth is a good reason to undertake complete reconditioning. For minor defects, you can address the problem locally, but be cautious, as in those areas, more intensive wear marks may appear later, requiring extensive repair.
3. Steps for Reconditioning Engineered Parquet - What Steps Should You Follow?
For the reconditioning process to succeed and achieve the desired result, you must follow several important steps. These refer both to the actual parquet repair and to its future protection.
Here are the steps you must follow for a successful project:
- Identifying defects
First, you must carefully inspect the entire floor in a room to observe and assess the number and severity of defects. If these are few and minor, you can perform localized repairs only. If the level of wear is more advanced and widespread, you must proceed to the next step, namely:
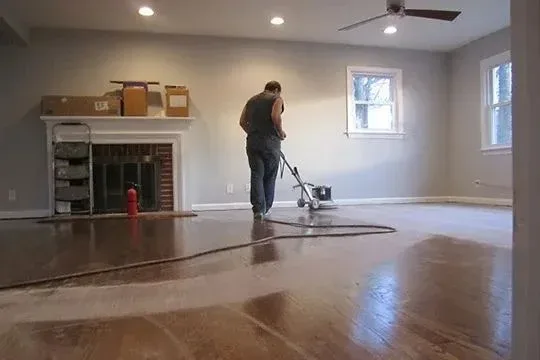
- Sanding
If in the past sanding parquet involved considerable effort and much dust, as it was done manually, nowadays there are efficient machines specially designed for this operation. You don't need to buy them, as they can be rented from specialized reconditioning firms.
Sanding must be done as uniformly as possible, and for easy access, it's best to remove the baseboards from the start. Do not focus on small but deep holes, as you won't be able to bring them to the proper level with the machine; rather, you risk creating an unpleasant depression over a larger area. Remove scratches and the top layer affected by wear using sanding paper (for the machine) with a grit of 80, this being the most common recommendation, or 36 or 20 for an old floor. For an ideal effect, use the machine again over the entire surface at the end, with fine-grit sandpaper.
- Repairing defects
After you have finished sanding the engineered parquet, there may still be minor defects that need to be addressed differently. For these, use wood filler, applying it in a larger quantity (it shrinks as it dries). Then, carefully sand the spot to bring it flush with the surrounding surface.
Attention! In case of major defects, such as wood rot, consult a specialist!
- Sanding
The next step is sanding the entire floor with abrasive paper at 150 or 180 grit, to leave the surface fine and as free of impurities as possible. For this, rotary sanding machinery is used.
- Surface cleaning
You cannot proceed to the following stages without properly cleaning the parquet and removing the excess dust from the previous steps. So, vacuum the entire surface thoroughly, including corners and along walls, then wipe the entire floor with a cloth. This can be damp if needed, but remember that drying time is necessary before moving forward!
- Priming
It is recommended that at this point you apply a primer coat, and then parquet lacquer. This will provide efficient adhesion to the base and easy sanding between coats.
Use a roller or brush/scraper for this step, depending on your personal preferences.
Tip: water-based products are ideal, as they do not emit a pungent odor in the room and are just as effective as solvent-based ones!
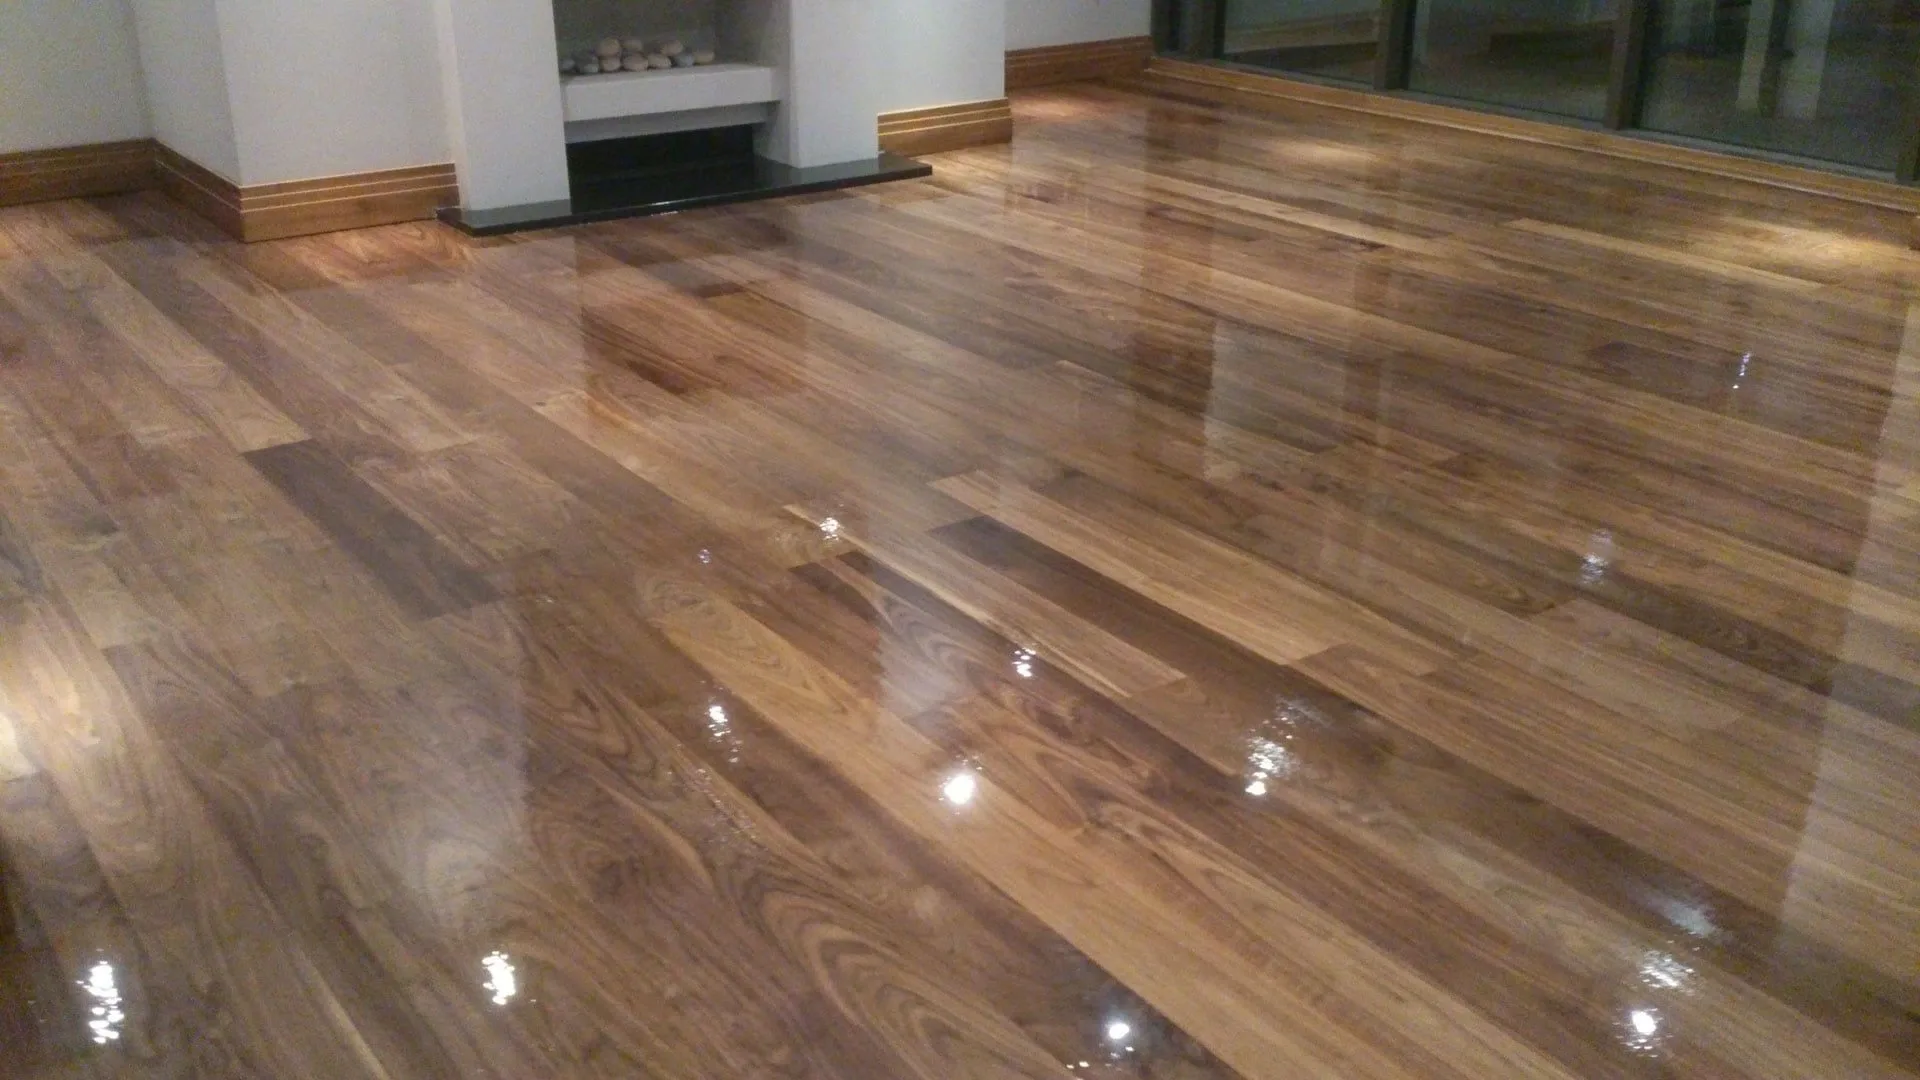
After drying, sand again with abrasive paper at 280 or 320 grit. If you desire a very glossy parquet, the grit can be 400, but you should know that this highlights even the smallest scratches or defects. Then wipe with a cloth to remove dust.
- Lacquering/Waxing/Oiling
This is the final step. Depending on your preference, you can apply 2-3 coats of primer (with sanding between them or at the end) and one coat of lacquer, or 1 coat of primer and 2-3 of lacquer.
Application is done the same way as in the previous step.
You can choose between lacquer, wax, and special oil, but you should know that the latter two require more frequent refinishing and more careful maintenance, which is why lacquer is most commonly used.